

Hi there and welcome back to The Whimsical Workshop blog! If you've been following along with us the past few weeks, you'll know that we walked through all of my favorite tips on how to set up your ironing and pressing area for quilting. If you haven't had a chance to read those tips yet, I recommend going back and starting there.
Because now we're moving on to your sewing area! When setting up an area for quilting, there are several things to keep in mind.

Another thing to consider is where you'll put your sewing tools. I love having drawers in my cabinet to store my notions and add fun cups on top of the table for tools I use the most. My favorite tip is on storing your sewing machine feet; I use an inexpensive bait box from a sporting goods store to keep my the feet organized and protected from damage that can occur from just throwing them loose in a box.
I love this style of bait box because the lid pops off and can be stored under the box while it sits my drawer. When I have to go on the road, I just pull out the box and pop the lid on and we're ready to go!
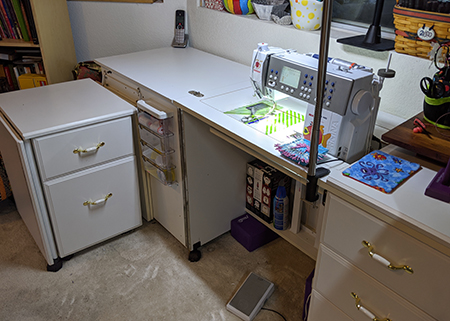
The next step, similar to how I set up my pressing station, is to ensure that your sewing table and chair are at the correct height. If you're too high or too low for your station it may cause neck, back and arm pain. If you need to raise up your foot pedal, try Yoga Blocks! I also recommend an adjustable chair, such as those used in offices, so that you can raise and lower yourself as needed. You can also add a splash of color by adding a quilt to the chair.


And finally, good lighting is crucial. The light should properly illuminate not just your machine, but the area around your machine. This will make it easier to catch mistakes, adjust your sewing machine foot, trim excess thread, and much more. I use three lights at my machine along with the light on the machine. I have a Daylight Slim Light in front of the machine, a goose neck light pointed at the needle and a LED light under the arm of the machine that lights up the work surface. I've listed out some of my favorite lighting sources below with links as to where you can find them.

Visit our YouTube channel to see how I set up my sewing area, as well as how I store my sewing machine feet and details on some of my favorite notions.
Next week I'll be going over my top 5 recommended sewing machine feet, so be sure to come back and keep following along!
Shop The Whimsical Workshop Notions an More
Lighting Links
No comments:
Post a Comment