
Hi there, it's Heidi from The Whimsical Workshop! I'm back to talk more about your pressing station for quilting and how to get your ironing board set up properly.
You will be spending a lot of time at your pressing station so it's important to make sure it works for your body. If it's too short and you're bent over, it could lead to back pain. Too tall and you're in for shoulder and neck pain.
You will need a surface to press on. First consider the size of the pressing area. I use a big board for my ironing surface since the rectangle size works best for quilting. If you do not have the space a regular ironing board works too.

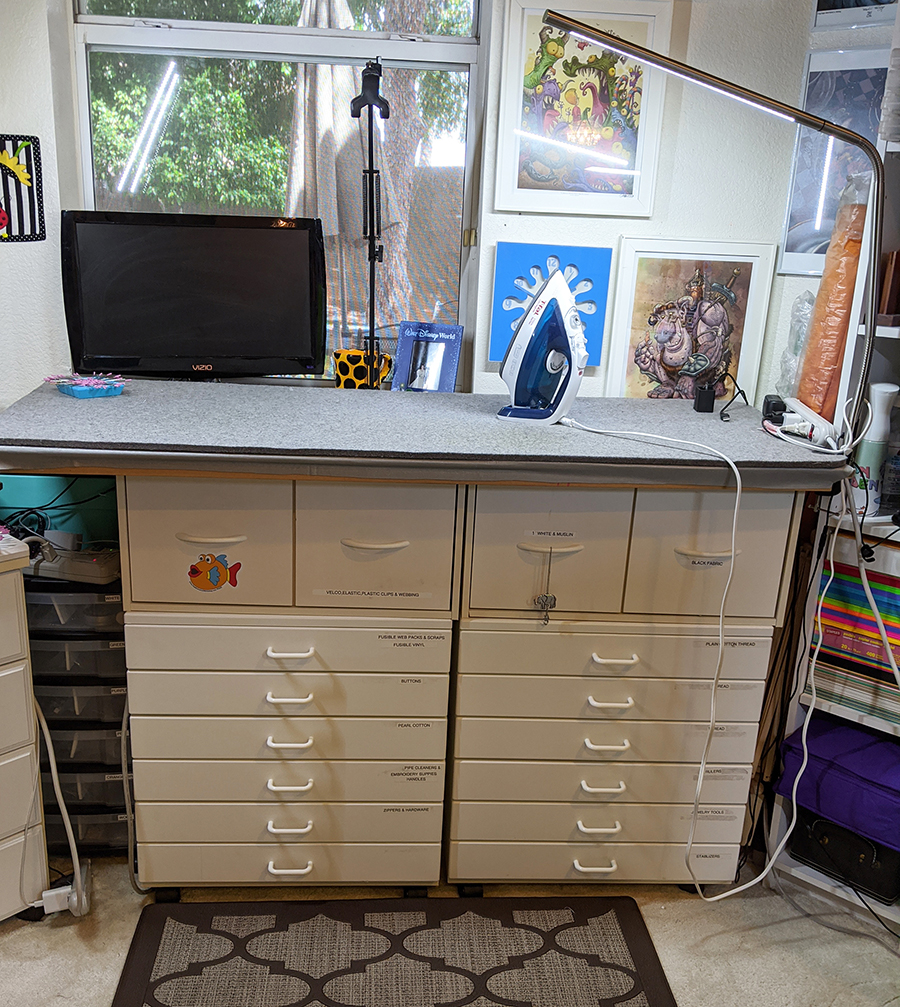
Make sure you have excellent lighting at your pressing area. I use a Daylight Slimlight at the ironing board. The powerful LED lights make it much easier to press darker fabrics or smaller pieces. I love these lights so much that we have them all over the studio!
 Next you need to decide on the your pressing surface. I love the newer wool mats for pressing. When you press on a wool pressing mat, the wool holds the heat and then radiates it back up through your seams. This creates flat blocks quickly and easily. My favorite one is the from The Gypsy Quilter and is available in multiple sizes. I recommend Wool Pressing Mat 21-5/8in Wide x 58-5/8in Long x 3/8in Thick from The Gypsy Quilter to cover your entire pressing area. If you travel and quilt, I also recommend the Wool Pressing Mat 14-1/3in Wide x 18-7/8in Long x 1/2in Thick from The Gypsy Quilter
This one fits on a standard tray table.

For more tips on setting up your ironing area, make sure to check out our video on YouTube here.
While you are there, be sure to subscribe to our YouTube channel "The Whimsical Workshop" so that you can stay up to date on all of our latest news and be the first to see new videos.
If you haven't joined our new Facebook group, Heidi's Quilting Help Desk, what are you waiting for? We've started a Sew-a-Long and answer all sorts of fun quilting and sewing questions.
We earn a commission for products purchased through some links in this article
No comments:
Post a Comment